Make My Gen 6 Truly Mine
I’ll guide you through six practical steps to design, build, and install a custom vibe on my Gen 6 — hands-on, weekend-ready, exportable, shareable, and easy to tweak for personal expression.
What I Need Before I Start
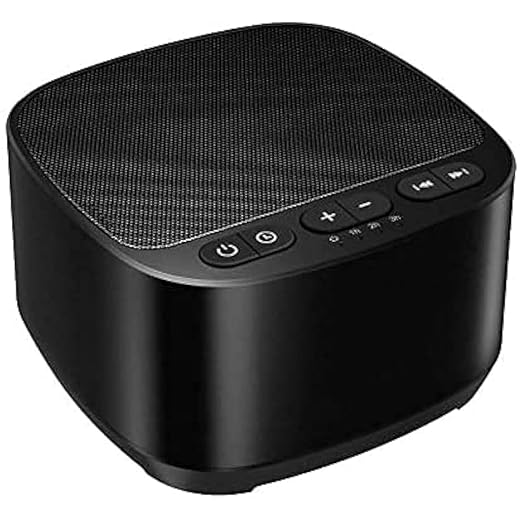
I have my charged Gen 6, latest firmware, a phone/computer, USB or Wi‑Fi, usable audio/images, simple editors, and basic file‑management skills.

Inspect and Prep the Gen 6
Want a smooth build? I’ll check the device first — small fixes now save big headaches later.Confirm I have the correct Gen 6 model, current firmware, and enough free storage. Back up existing profiles to USB or cloud and write down any custom settings I want to keep (EQ, pad mappings, macros).
Check compatible formats so I won’t hit surprises: audio sample rates (e.g., 44.1 kHz or 48 kHz) and image sizes (PNG/JPEG — often 512×512 or device-specific). Verify my connection method—plug a USB cable, pair Bluetooth, or test Wi‑Fi file access—and make sure transfers are reliable.
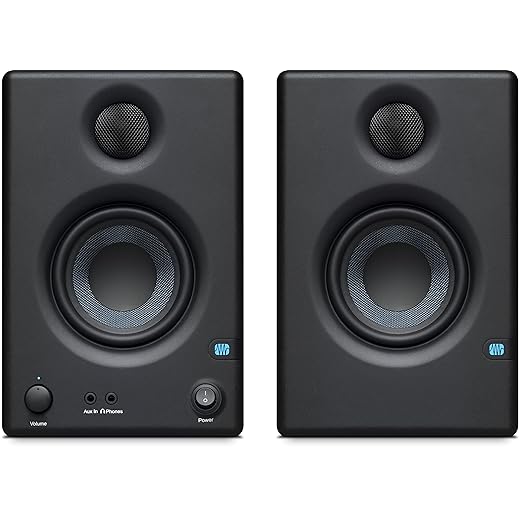
If the device needs an update, install it now to avoid mid-build interruptions. Finally, test speakers or headphone outputs by playing a short sample so I’ll hear edits accurately.

Design the Vibe Concept
What mood am I crafting? Think like a DJ: one vibe, one story.Define the vibe’s purpose — I choose wake-up, focus, party, or ambient background so every choice serves that goal.
Sketch a simple flow — intro, peak, outro — and pick a palette of sounds, tempos, and images that match. For example: for a wake-up vibe I sketch a 3-minute fade-in with bright synths and light percussion; for a party vibe I plan immediate energy, punchy lows, and looped peaks.
Sketch whether I want hard cuts, fades, or crossfades, and decide if I’ll use dynamic elements like randomized clips or conditional triggers.
Set success criteria: I state how it should feel, where it will be used, and any volume or clarity goals. Having a clear concept keeps my edits purposeful and makes iteration faster.
Gather and Prepare Assets
Files, fonts, and beats — I get them battle‑ready so nothing breaks during the build.Collect the audio tracks, sound effects, and images I’ll use, and check licenses for reuse (Creative Commons, royalty-free, or my own recordings).
Normalize and trim audio to the Gen 6’s accepted levels and sample rates (e.g., 44.1 kHz or 48 kHz, 16/24-bit), and remove silence or clicks.
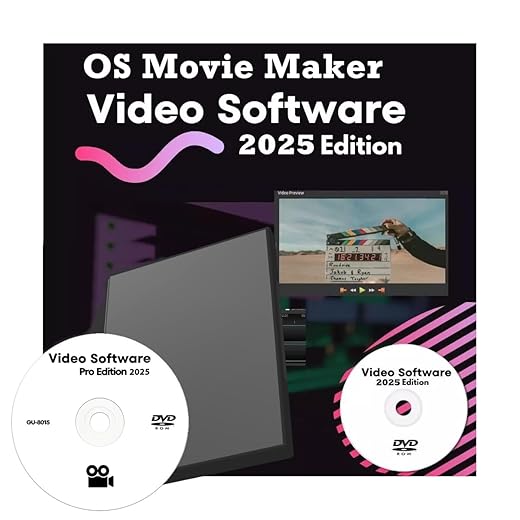
Convert files to supported formats (MP3, WAV, or device-specific), and do a quick playback check to confirm quality.
Name files clearly using a consistent scheme — vibe_step01_intro.wav, vibe_step02_loop.mp3 — so I can spot parts fast.
Resize and optimize images/thumbnails to device limits to avoid slow loading (for example, keep under 1024×768 at 72 DPI).
Assemble metadata (titles, tags) and create a tidy folder structure for drag-and-drop deployment.

Assemble the Custom Vibe
This is where I roll up my sleeves and glue everything together — the creative, fun part.Create a new vibe profile in the Gen 6 editor or companion app and import the assets I prepared.
Place clips in order and set transitions so phrases land naturally — for example, move a vocal clip 150–250 ms earlier to match a beat.
Adjust individual clip levels and add fades/crossfades (try 100–300 ms crossfades) to smooth joins.
Layer ambient pads or subtle effects under vocals at about -6 to -12 dB to add depth without masking speech.
Configure triggers or conditional logic if supported — for example, start a greeting clip only when motion is detected.
Save incremental versions like vibe_v1, vibe_v1.1 as I go so I can roll back changes.
Keep the interface simple first, then return to add nuance once the skeleton feels right.
Test, Tweak, and Iterate
The first pass won’t be perfect — I test in real settings and polish until it clicks.Run the vibe in the actual space where it will be used and listen critically.
Listen for smooth transitions, balanced levels, and a consistent mood across the whole piece.
Test on headphones, nearfield monitors, and a phone or portable speaker at low, medium, and high volumes.
Note jitter, latency, or clipping and return to the editor to fix gain, EQ, or timing.
Solicit quick feedback from a friend and make one focused round of improvements, not endless micro‑edits.
Document what I changed and why so future edits are faster.
Export, Share, and Maintain
Great vibes deserve backup and applause — here’s how I keep them safe and discoverable.Export — I export the final vibe to the Gen 6’s recommended package format (e.g., the device’s .genpkg or a signed ZIP). I create a backup copy on cloud storage (Drive, Dropbox) and on an external drive.
Create a short README that lists intended use, version, and source assets. For example: “Evening lounge preset — v1.0 — assets: padA.wav, bass1.synth (licensed), field-recording-park.wav.”
Prepare a compressed preview (15–30 s MP4 or GIF with muted/low-res audio) and upload to my community or social channels with clear licensing notes (e.g., “CC BY-NC 4.0; royalty-free samples”).
Schedule periodic reviews, especially after firmware updates, and tag files with semantic versions (v1.0, v1.1) so iterating or restoring earlier versions is painless.

Ready to Make Yours
I’ve turned a concept into a repeatable six-step workflow; I’ll start small, test often, and enjoy refining my Gen 6 vibes. I’ll try it, share results, and inspire others too.

Okay real talk — I tried to follow this guide last night and got kinda lost during the “Assemble the Custom Vibe” section.
– The wiring/layout pics were helpful but I wished there were more annotated close-ups.
– Also, when you say “tweak the parameters,” how much is too much? I spent an hour chasing tiny differences that barely changed the outcome.
Still, the iterative approach in step 5 is solid. Definitely saved my project from being a one-off. Will try again tonight with smaller increments and better notes.
PS: the export options in step 6 confused me — is that universal or dependent on software?
Thanks for the honest feedback, Carlos — super useful. We’ll add more annotated close-ups to step 4 in the next revision.
About “tweak the parameters”: try changing only one parameter at a time and keep short changelog notes. That way you can revert easily. As for exports, options depend on the tool you use; we’ll add a mini table of common formats and when to pick them.
For exports: PNGs for static assets, small MP4s or GIFs for short animations, and a package (.zip) for full vibes with metadata. Depends on the platform you’re sharing to.
Yep — change one thing at a time. Also try duplicating your vibe before making big tweaks so you have a baseline to compare to.
This guide was exactly what I needed to finally stop procrastinating and finish my vibe. The “Design the Vibe Concept” step got my creativity flowing, and step 5’s iterating tip saved my sanity.
Quick question: anyone got a favorite tool for assembling assets? I used a simple free editor and it worked fine, but curious what others recommend 🙏
Glad it helped, Nina! For assembling assets, folks often recommend these three based on ease vs power: a simple free editor (good for beginners), a mid-level editor with batch tools, and a pro-level suite if you need advanced manipulation. We’ll add specific names and workflows to step 3 for clarity.
I use a mid-level editor — fast and supports batch renaming which is clutch for big projects.
Really liked the “Inspect and Prep” step — made me actually open my Gen 6 and clean out a dust bunny that was living under the hood 😂
Couple of constructive notes:
1) The materials list in step 3 could use alternatives for cheaper parts. Some of the recommended stuff is kinda pricy.
2) A short troubleshooting subsection in step 5 for common fail states would be awesome (e.g., vibe not saving, asset mismatch errors).
Otherwise, fun guide. Solid pacing and the “Ready to Make Yours” call-to-action feels motivating.
For cheaper parts: check thrift stores or community hardware swaps. I found decent components for way less than retail.
Seconding the troubleshooting list. I lost half a day once because my asset names had spaces in them — stupid mistake but took a while to find.
Samira — ugh that hurts. I once had mismatched color profiles and spent forever wondering why my vibe looked washed out.
Thanks, Jen — great suggestions. We’ll add budget-friendly alternatives in step 3 and a troubleshooting subsection in step 5 in the next update.
Loved the breakdown in steps 2 and 4 — designing the vibe concept and then actually assembling it felt satisfying. Quick tip: when prepping assets (step 3), rename files with version numbers so you don’t overwrite stuff accidentally. Saved me a ton of headaches 😅
Totally agree. I use date_prefix_filename.ext and it’s super easy to track changes.
Great tip, Maya — versioning can be a lifesaver. We actually added a short note in step 3 about naming conventions based on reader feedback like yours.
Neutral take: the guide is thorough but assumes a bit of prior experience. If you’re completely new, the pace might be a bit brisk.
Here are specific things I noticed:
– Step 1: Great checklist, but perhaps a short glossary of terms would help novices (esp. for words like “metadata bundle” or “heartbeat parameter”).
– Step 4: Assembly examples are platform-specific; adding one or two alternative workflows (low-code vs advanced) would broaden applicability.
– Step 6: Maintenance tips are solid — loved the reminder about version compatibility.
All that said, the iterative testing advice in step 5 is really practical. I used it to refine my second vibe and it turned out way better than my first attempt.
Minor nit: a couple of screenshots had tiny text that was hard to read on mobile.
Appreciate the detailed feedback, Oliver. We’re planning to add a glossary and low-code workflow examples. Good catch on mobile readability — we’ll optimize the screenshots.
Totally — glossary would have helped me a lot when I started. Even a small tooltip next to jargon would be useful.
That’s generous — I’ll ping you when we have a draft!
Thanks — happy to help test any draft additions if you want a fresh pair of eyes before publishing.